Friday, September 15, 2017

Day 17 Charcoal Self-Portrait

http://www.mnartists.org/work.do?rid=271390
Warm Up- In the next 5 minutes write a short biography of your life in your sketchbook.  

Next circle things in your biography that were most important events in your life. 

Presentation - 

Thinking about your background - Backgrounds in portraits are important! Write down the following tips for developing a background for your self portrait using your journal!


A background makes an artwork look complete or finished - The problem with a white background is that the white of the paper remains on the same “plane” as the white highlights on your drawing. This means that the background and the foreground merge, and your subject doesn’t pop forward.  THIS IS NOT AN OPTION FOR YOUR FINAL.


  • Natural simplified background - You can start with a natural background and simplify it. For example you could put the beach, ocean and horizon behind a subject and leave out the details and include muted soft values. 


  • Blurred background - This is a good way to create a more of an atmospheric setting.
  • Realistic background -  This is a good way to communicate something about your subject or their personality


  • Montage background - This gives you freedom to play with the elements of your portrait and create meaning in a more creative way.


Learning Objective-You will be able to grid a two inch grid on your final paper and translate the photo onto it to blow it up.  You will continue by added value using charcoal to define core shadow, cast shadow, reflected light, highlight, and medium tones.

Language Objective- Read your vocabulary on Value, (cast shadow, core shadow, highlight, reflected light, and medium tones), and apply it to the values of your face. 

Agenda-
  • Continue to draw your small portrait with pencil drawing grid to grid. - Complete today
    • Include your value mapping! (tracing around the values)
    • Take your time and remember your value vocabulary
  • Show me your small drawing to receive your final paper for Charcoal Portrait. 
  • Visual Journal will be due next Monday Sept. 17th
    • Be sure to experiment with more than one material.  
    • You will also start a new Visual Journal Entry on Monday.  

Wednesday, March 15, 2017

Second Semester - Day 37 Watercolor Techniques

Warm Up - Work on Sketchbook #5 - Due March 24th
  • Create a tattoo for someone you know
  • Draw something that should have been invented by now. 

Learning Objective -  You will develop a deeper understanding of what Non-Objective and Objective art is through observing and developing your own process, while creating your own Objective and Non Object paintings.  

Language Objective - Review the following Vocabulary words and try to see the vocabulary in your thumbnail choices and final painting. 

Agenda - 
  • Use a sheet of paper to experiment with watercolor. 
    • Take a piece of paper and fold it in fours, (in 1/2 both directions).
    • Square #1 -  Make marks with the watercolor paint without touching the brush to the paper.
    • Square #2 - Make a small painting that is Nonobjective while using the  brush, (don't make anything recognizable).
    • Square #3 - You may make something recognizable without touching the paper with the brush.
    • Square #4 - No rules, paint using the brush painting something Objective or Nonobjective.
  • Watercolor Techniques revisited
  • Take out your Objective Sumi Painting final to work on - Due Monday,  March 20th
    • Include a background and foreground
    • Equal amounts of positive and negative space
    • Optional - Include a watercolor background
  • Add the the unfinished Collaborative Sumi Paintings.  
Watercolor Technique Reminder 


Wet on Wet- Painting with a wet brush on wet paper.
Take a thick brush and paint clean water evenly across your paper. The paper should become wet but not drippy…no puddles. Paint pigment on the surface evenly.
  • Irregular wash- Brush on clean water first.  Drip dark pigment on top.  Pick up paper and move it around and see what happens.  


Wet on Dry- This means you work with a wet brush on dry paper. This technique is well-suited for the painting areas that require greater control and more saturated colors as in the foreground of a landscape.
  • Flat Wash- Wet wash brush with paint on dry paper.
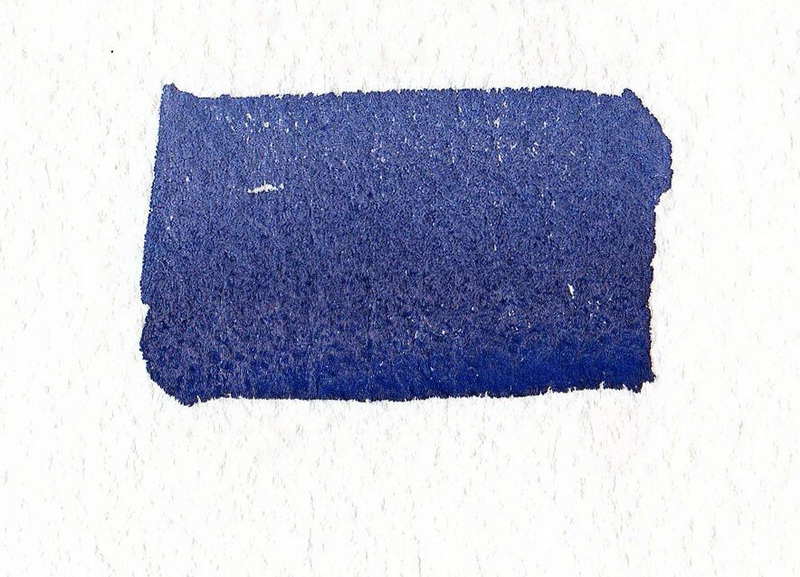
  • Graded Wash- Mix darker hue make a pass at the tip, clean brush and make another pass using clean water.


    Watercolor Texture Techniques

    Lifting Wet Watercolor - When watercolor is still wet on the paper, it is easy to blot and lift. If it is so wet that it is still shiny, you will possibly lift all the color. If it has lost its shine, the swipe of a brush will lift the color. If the brush is too wet, you will create a Back Wash and cause a “bloom”.


    Salt Texture Watercolor Techniques - A small sprinkle of salt can be applied when the watercolor and paper is wet, but must stay on the surface until the paint is dry. Clean the salt off after the painting dries!!!